Booting Your OS
Once you've flashed MrChromebox firmware on your device (either RW_LEGACY/AltFw or UEFI Full ROM), next you need to boot and install your OS.
To do that, let's get familiar with the edk2 (aka Tianocore) user interface as found in the MrChromebox firmware.
Firmware Type Differences
The boot experience differs slightly depending on which firmware type you installed:
UEFI Full ROM Firmware
- Device boots directly to the edk2 boot splash screen
- Full NVRAM support allows saving boot order and boot entries
- Boot order can be modified using the Boot Manager
- No Developer Mode boot screen (ChromeOS is completely removed)
RW_LEGACY (AltFw) Firmware
- Device boots to the ChromeOS Developer Mode boot screen first
- Press
[CTRL+L]on the Developer Mode screen to boot into Legacy Boot Mode / edk2 - Limited functionality: Does not support UEFI NVRAM, so boot order and boot entries cannot be saved
- Each boot requires pressing
[CTRL+L]unless GBB Flags are set to make Legacy Boot the default - Boot menu entries cannot be modified or reordered
NOTE
If you set the GBB Flags to default to Legacy Boot Mode, your device will automatically boot to edk2 without pressing [CTRL+L]. See the Firmware Utility Script documentation for details.
Boot Splash
The edk2 boot splash with the coreboot logo (a European brown hare) will be the first thing you see when your device boots.
Press [ESC] when the prompt is shown to enter the boot options/settings menu, where you can select your boot device.
If you want to customize the boot logo, you'll need to modify and build your own firmware image -- see Compiling Your Own Firmware
edk2 Main Menu
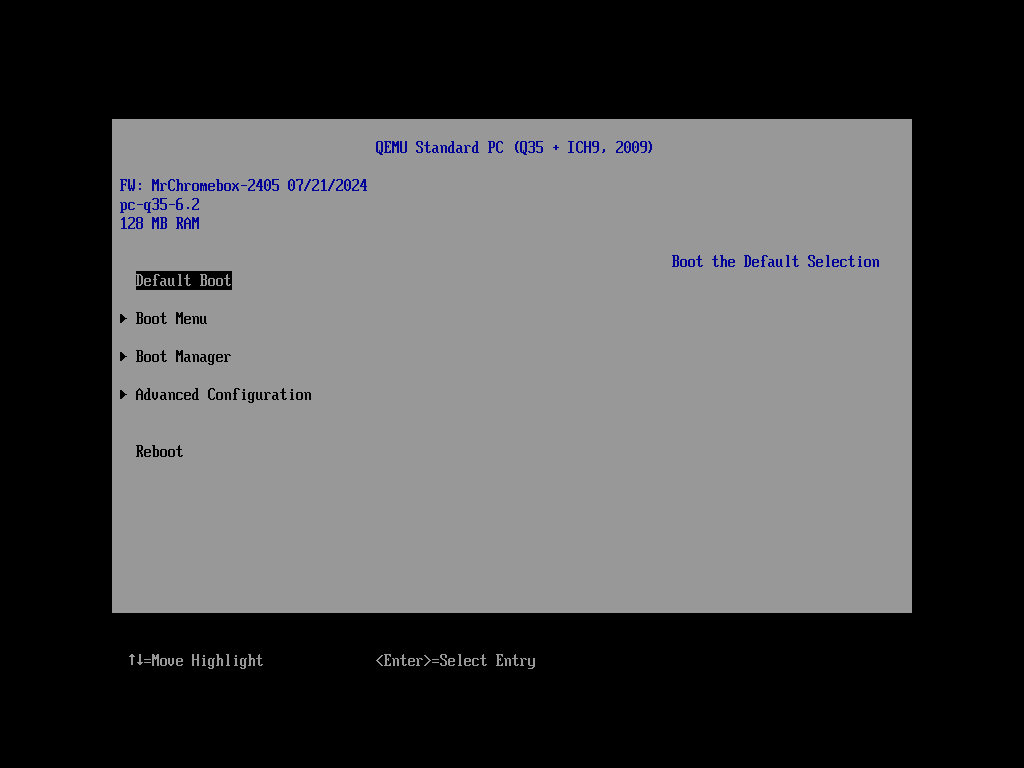
If you pressed [ESC] when prompted on the boot splash, the edk2 main menu is where you'll end up.
The top section will display info on your device - the make/model, ChromeOS board name, firmware version and date, and the device's CPU/RAM.
Below that you will find several menu options:
Default Boot: selecting this will boot the first item in the Boot Menu listBoot Menu: selecting this will show the edk2 Boot MenuBoot Manager: selecting this will show the edk2 Boot ManagerAdvanced Configuration: selecting this will show advanced options such as TPM management and Secure Boot settings (where applicable)Reboot: selecting this will reboot the device
NOTE
The TPM management functions are currently only available for TPM 1.2 devices; they are not currently available for devices which use Google's security chip (GSC/CR50/Ti50) for TPM 2.0.
NOTE
UEFI Secure Boot is only available on devices running MrChromebox UEFI Full ROM firmware.
edk2 Boot Menu
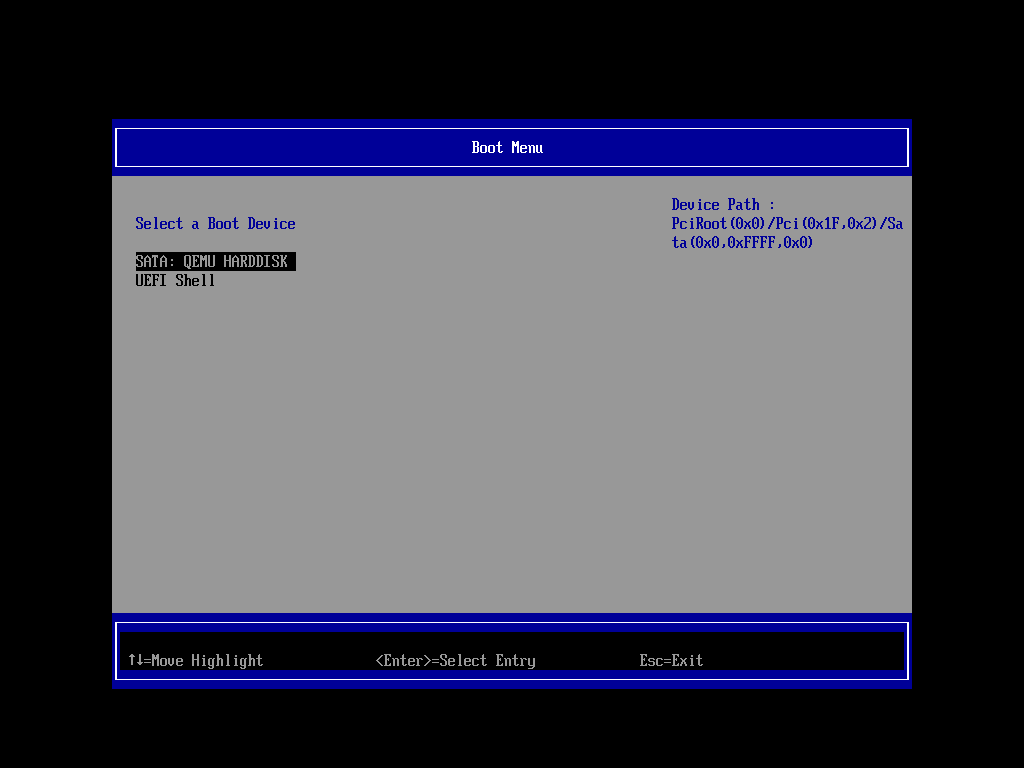
The edk2 Boot Menu will show a list of available boot options.
This list will include internal and external storage devices, any boot entries added by the OS bootloader, and the EFI shell.
If you are trying to boot from USB (or SD card) and the device is not shown in the list, simply back out to the Main Menu, remove and reinsert the device, wait ~3s, then go back into the Boot Menu. If the device still isn't detected, it may be a compatibility issue, in which case you should try another USB port or USB device.
If you are running the UEFI Full ROM firmware on your device, boot devices/entries in this list can be added/removed/reordered using the edk2 Boot Manager.
Note
RW_LEGACY firmware does not support boot menu modification due to lack of UEFI NVRAM support.
edk2 Boot Manager
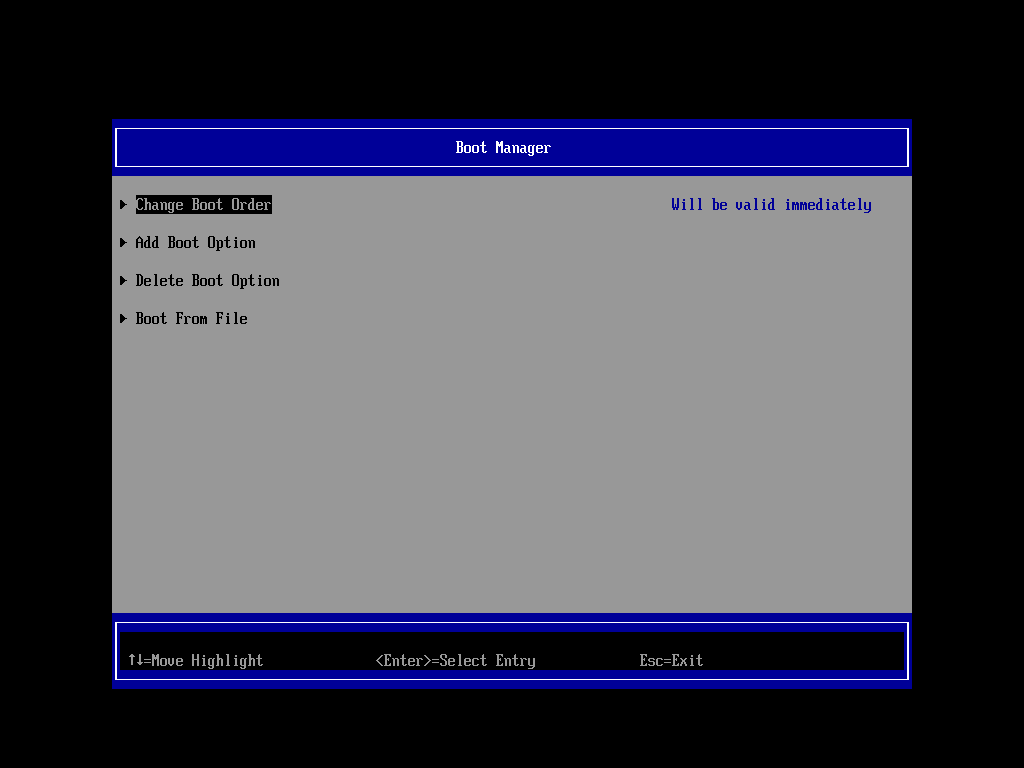
The edk2 Boot Manager primarily allows for the manipulation of the boot device entries; secondarily, it allows for the manual selection of the on-disk EFI bootloader via the Boot From File function.
UEFI FULL ROM ONLY
The Change/Add/Remove Boot Order entry functions only work when running UEFI Full ROM firmware. These options are not available with RW_LEGACY firmware due to lack of NVRAM support.
Changes made in the Boot Manager must be saved and take effect immediately.
edk2 EFI Shell
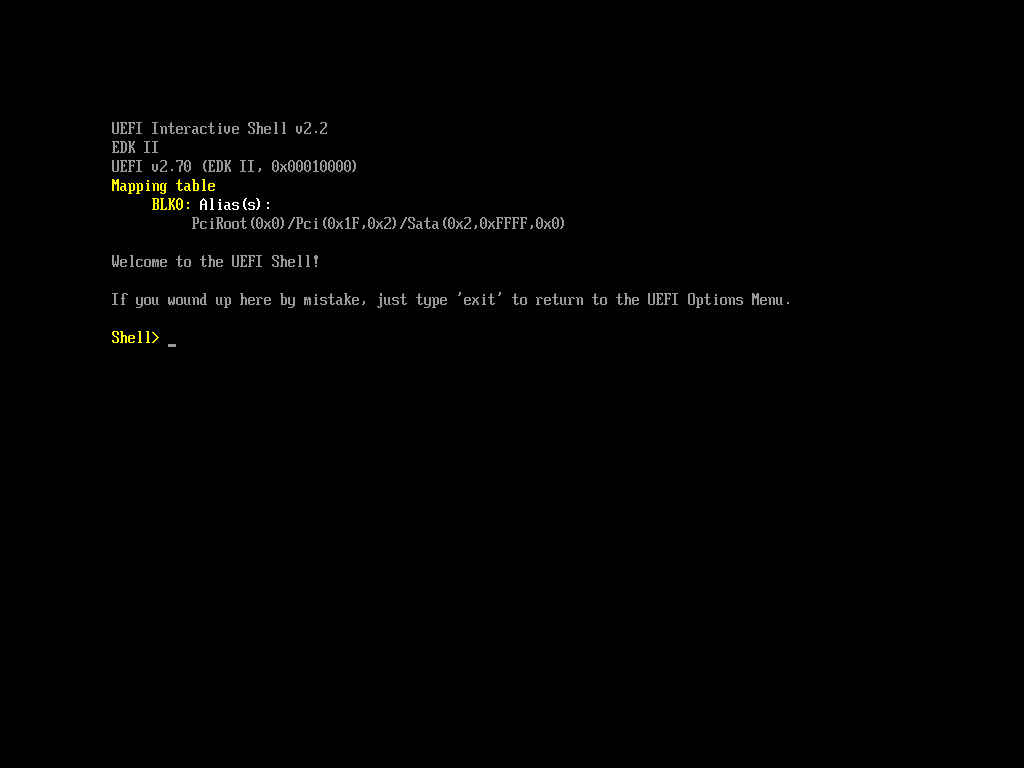
The edk2 EFI shell is where you end up if you don't have any other valid boot options available on your device. Most of the time, you end up here if you don't press [ESC] on the Boot Splash on the first boot after flashing.
No worries, as the helpful text says: simply type exit and press [ENTER] and you'll return to the edk2 Main Menu.
ChromeOS Grub Menu
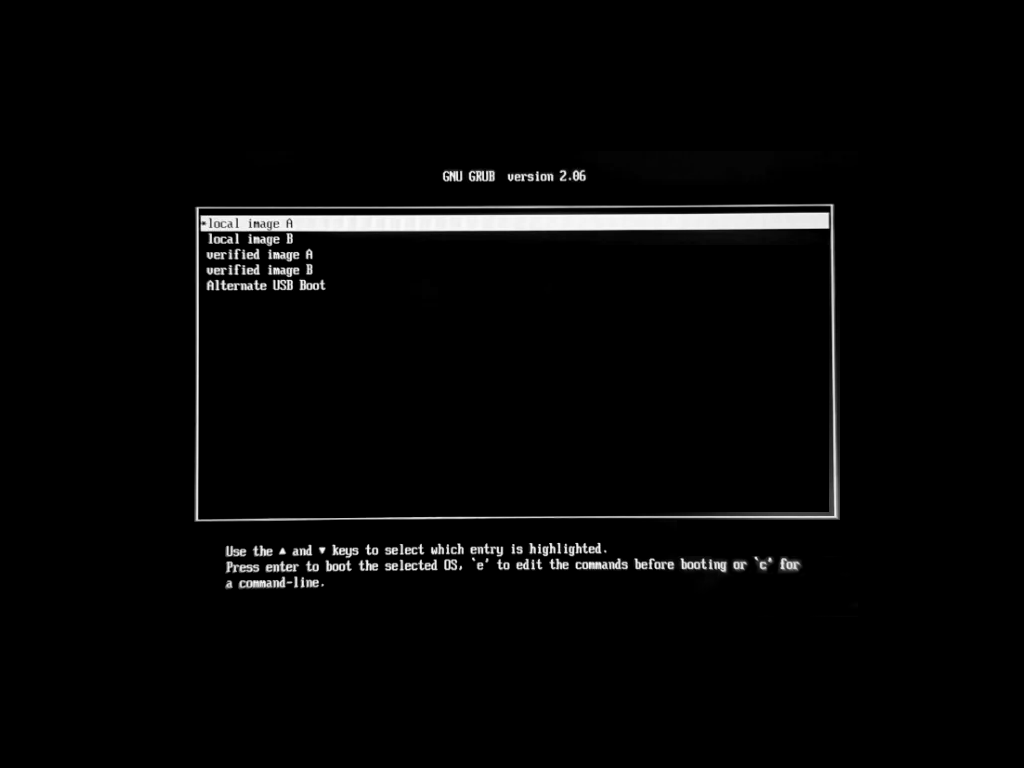
On some devices, the Firmware Utility Script is not able to delete the ChromeOS Grub bootloader after flashing, and so if you don't press [ESC] when prompted, edk2 will try to boot ChromeOS. You will see the screen above, and if no key is pressed before the timeout, Grub will try (and fail) to boot ChromeOS, leading to a black screen.
In this case, simply power off/on the device (or perform a Hard Reset: [ESC + Power]) and press [ESC] when prompted on the following boot.
When you install your OS, be sure to choose the option to 'wipe and install' so the OS will replace the ChromeOS bootloader with its own.